Getting Started with Open Letter Connect API
This quickstart guide will walk you through the necessary steps to begin using the Open Letter Connect API.
Get a Developer Account
To use the API, you’ll need an active account with Open Letter Connect. This account allows you to register your app, access developer tools, and manage your integrations.
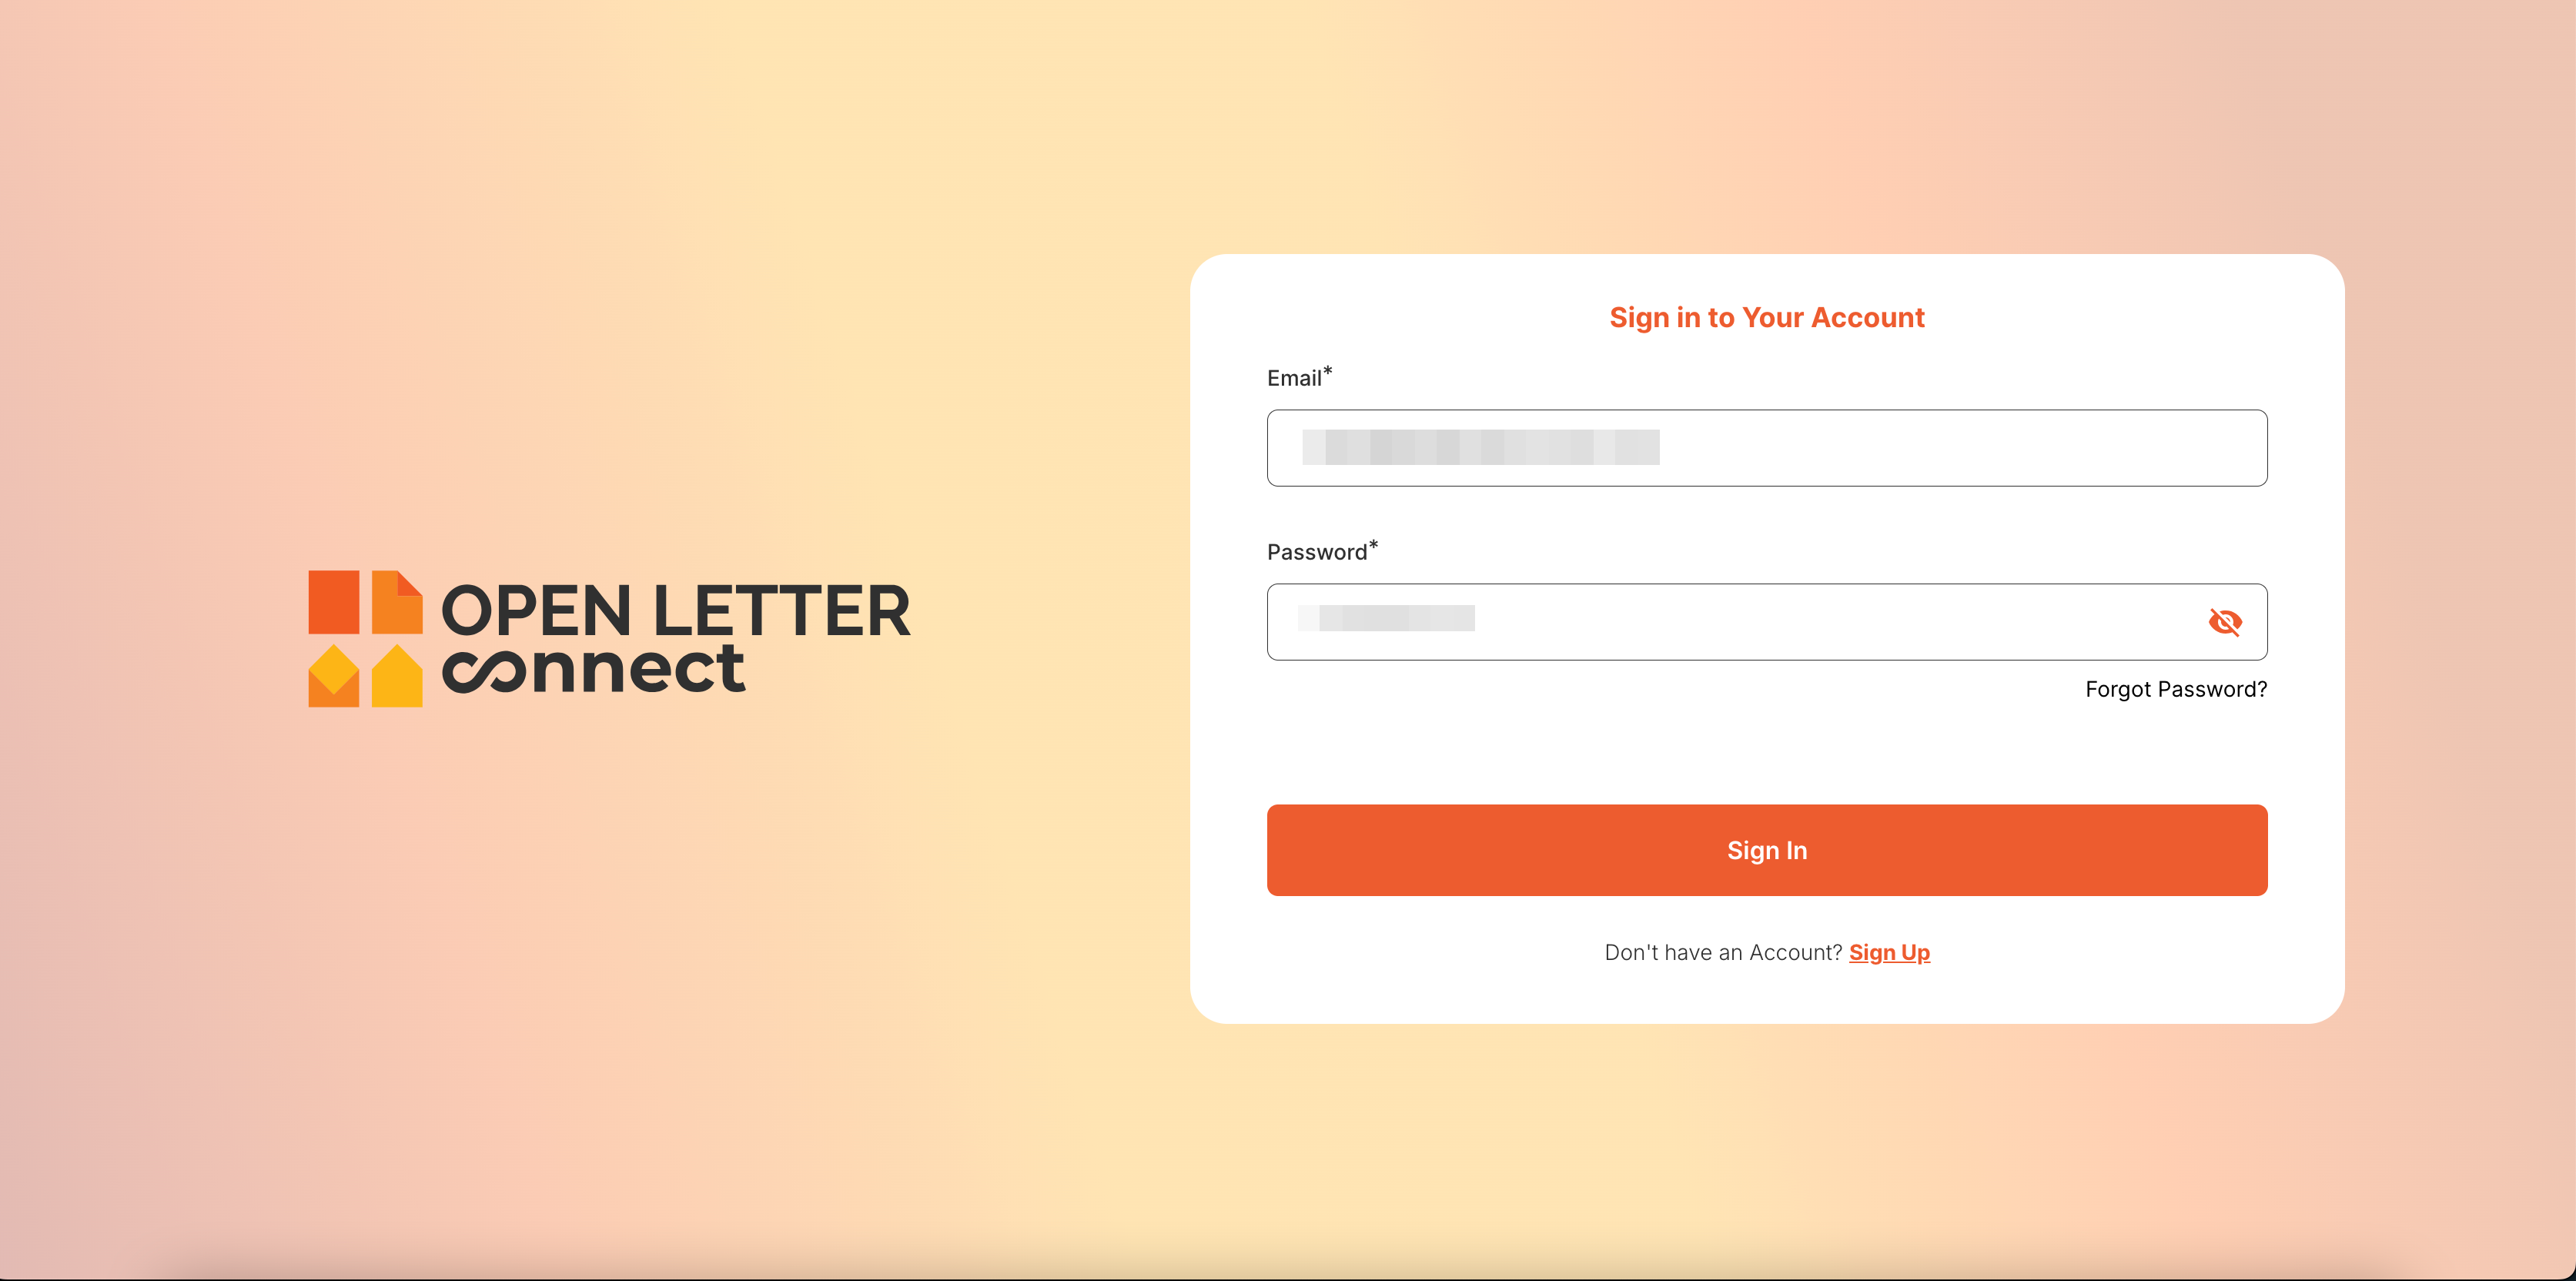
Step 1: Login
To access the API settings, you need to log in to your Open Letter Connect account:
- Go to the login page.
- Enter your valid email and password.
- Click Login to access the dashboard.
- Once logged in, the system navigate you to the Overview section.
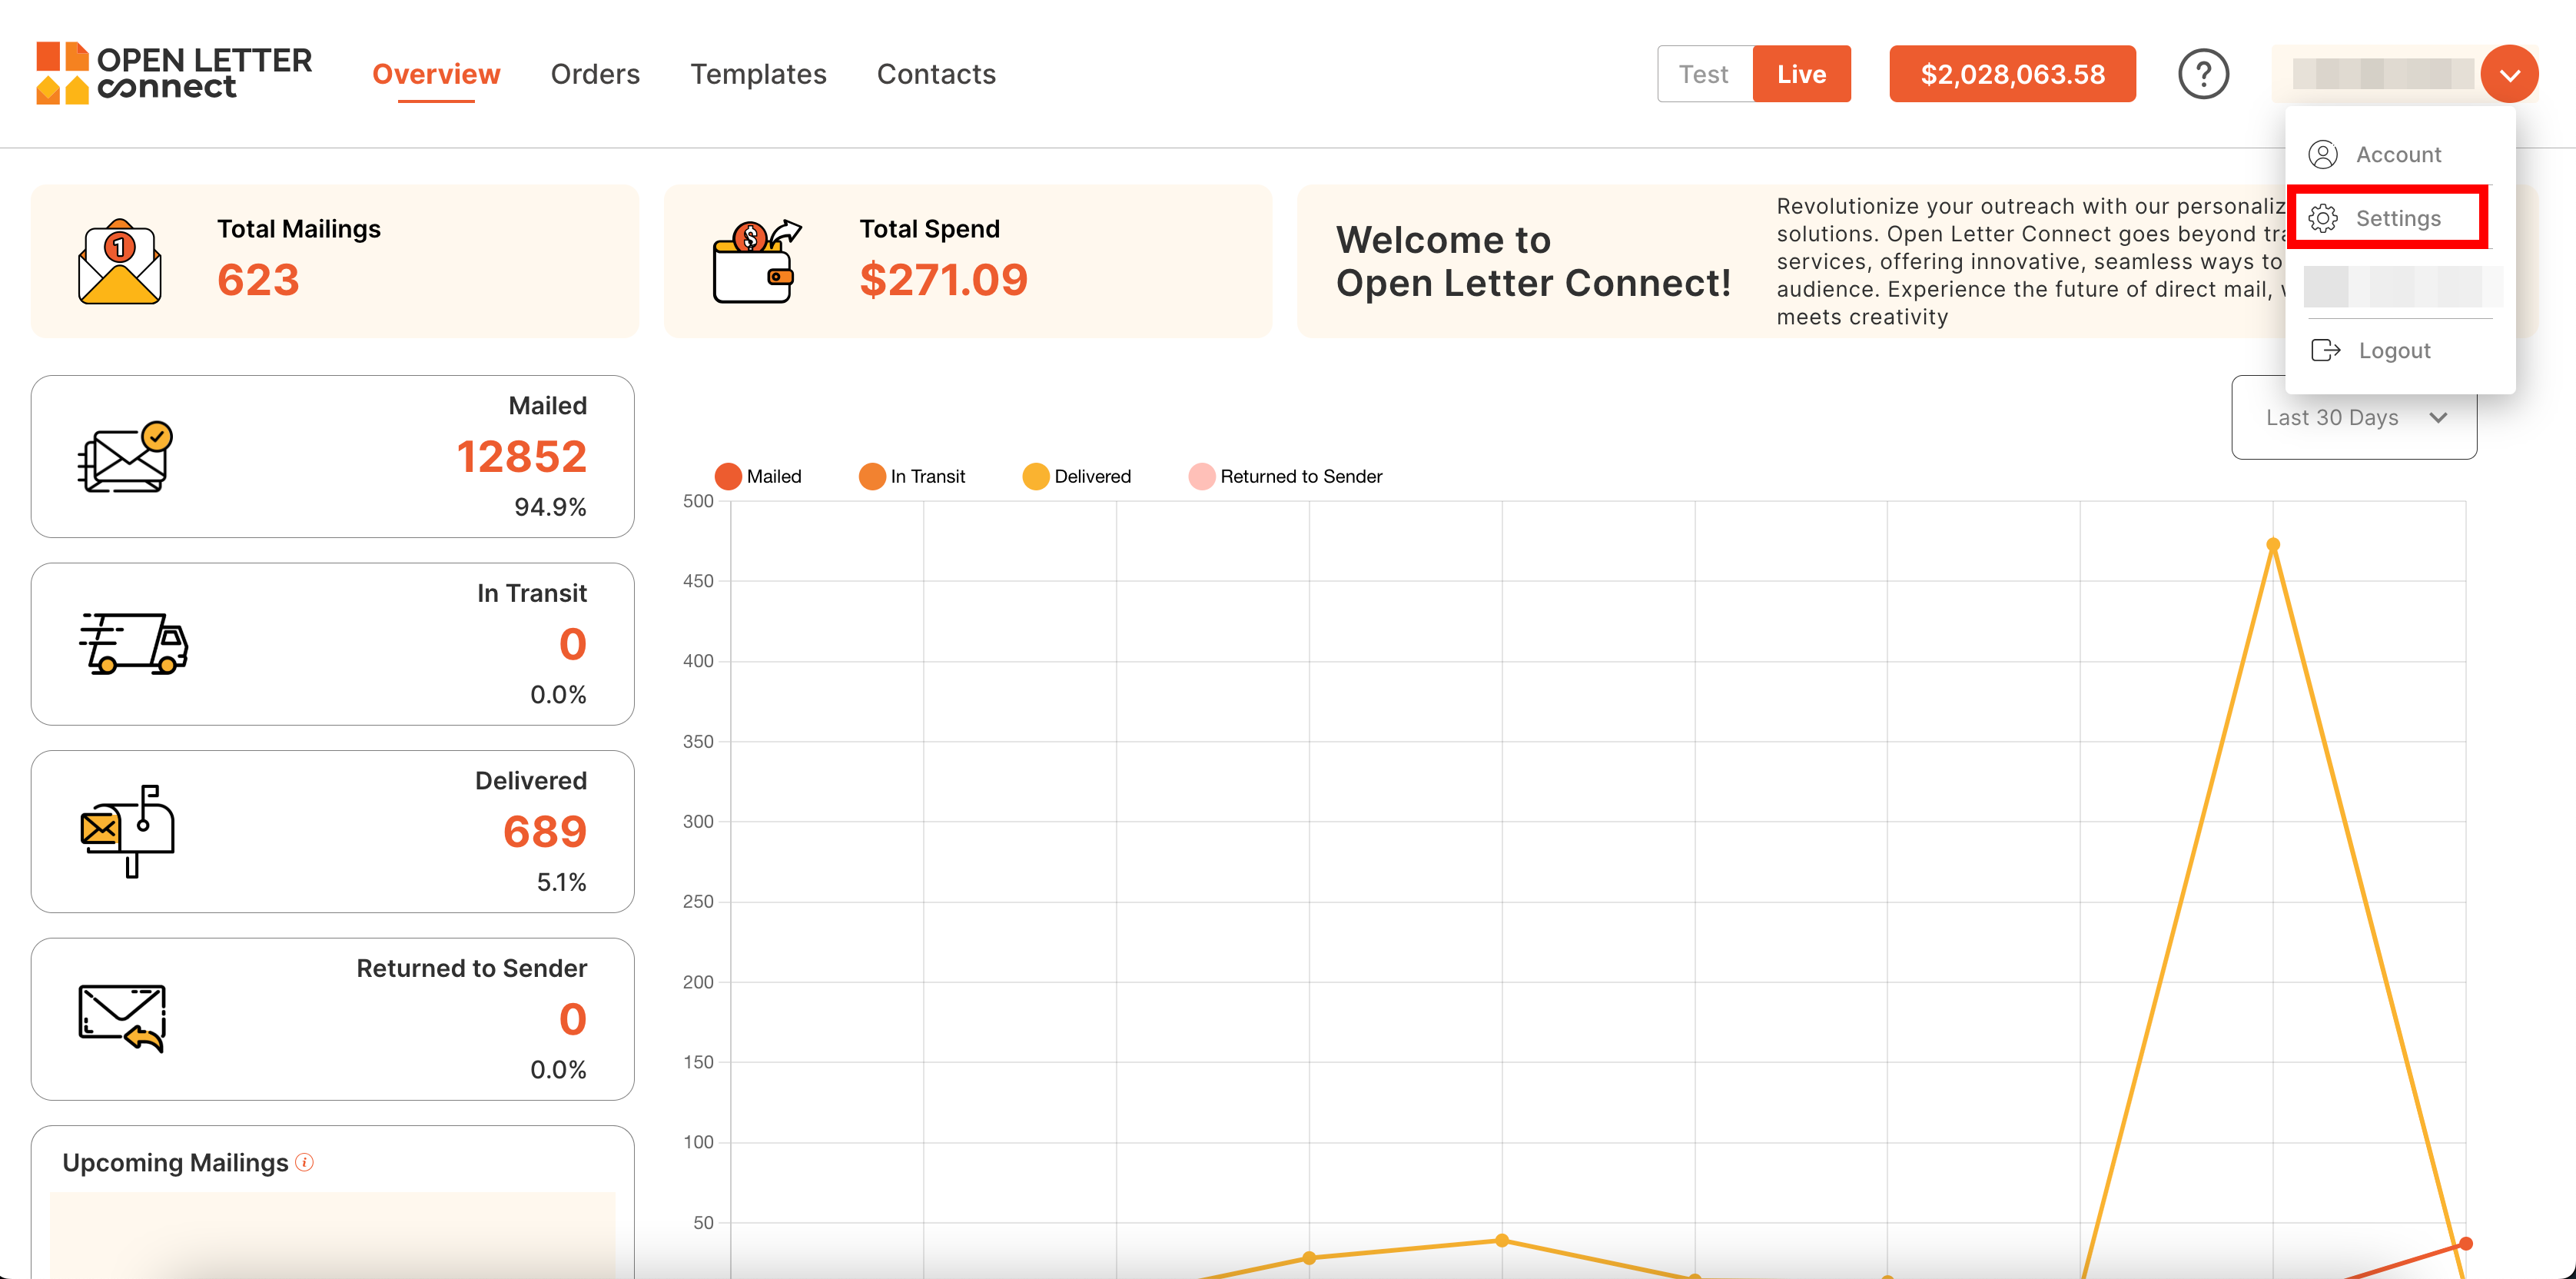
Step 2: Access General Settings
- In the right-side menu, click on the profile/name icon.
- The system will display a dropdown menu; click on Settings.
- The system redirects to the General Settings page
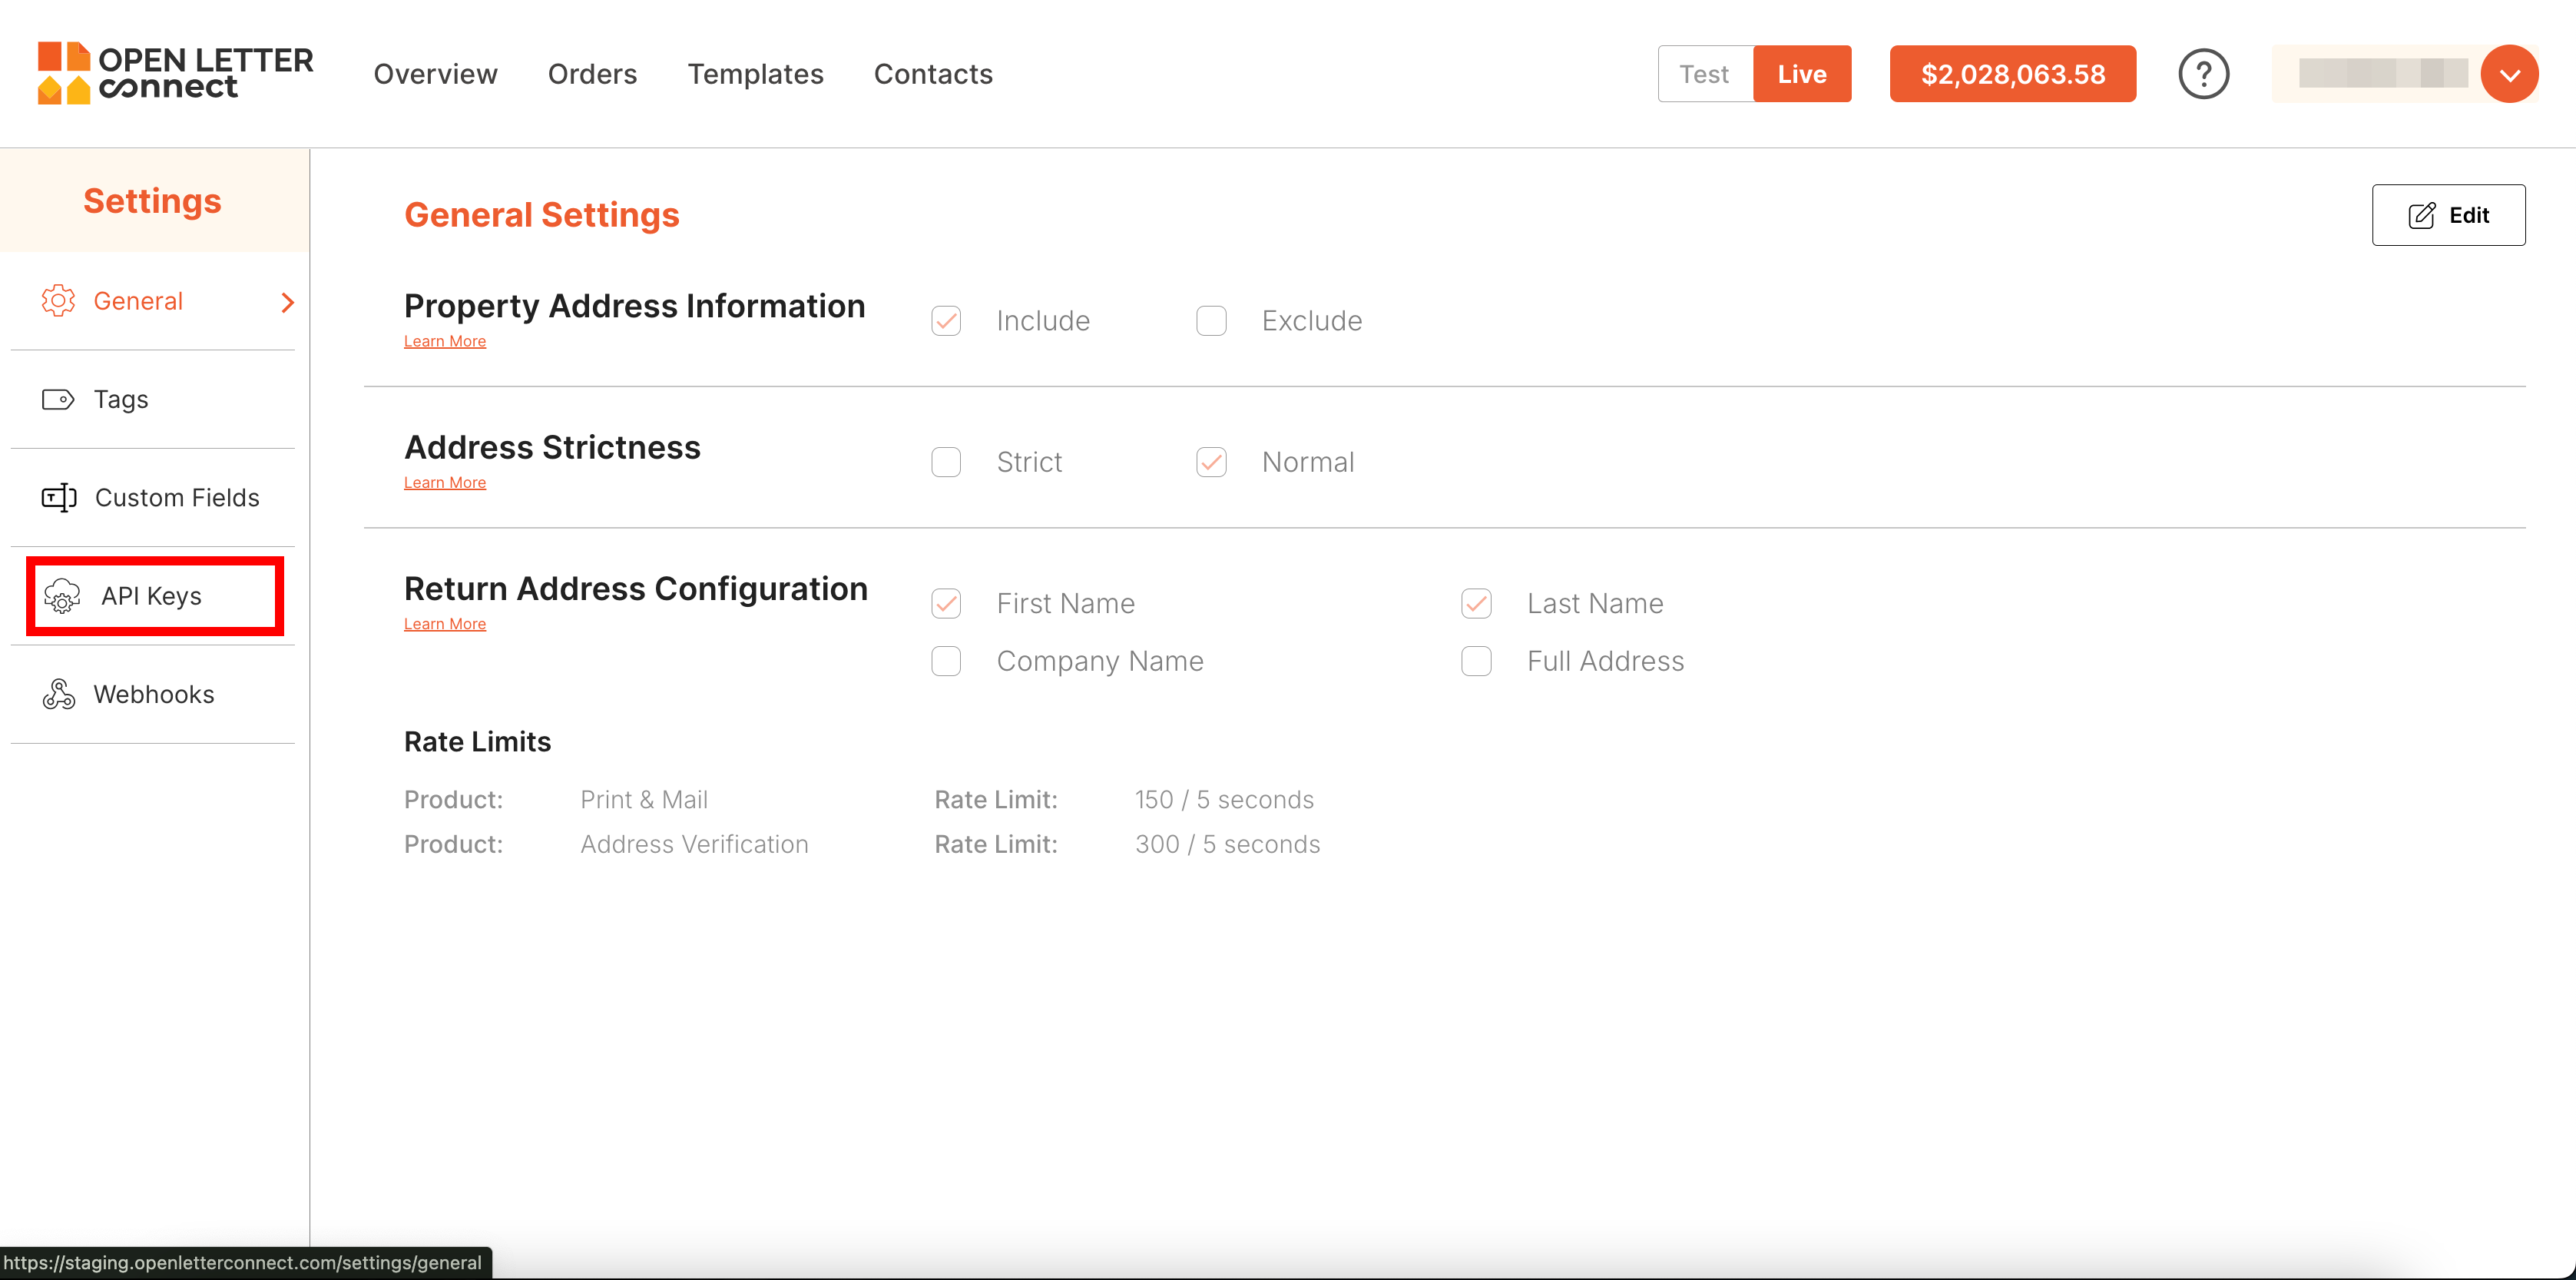
Step 3: Navigate to the API Keys Page
- In the left-side menu, click on API Keys.
- The system redirects to the API Keys Management page.
Step 4: Create a API Keys
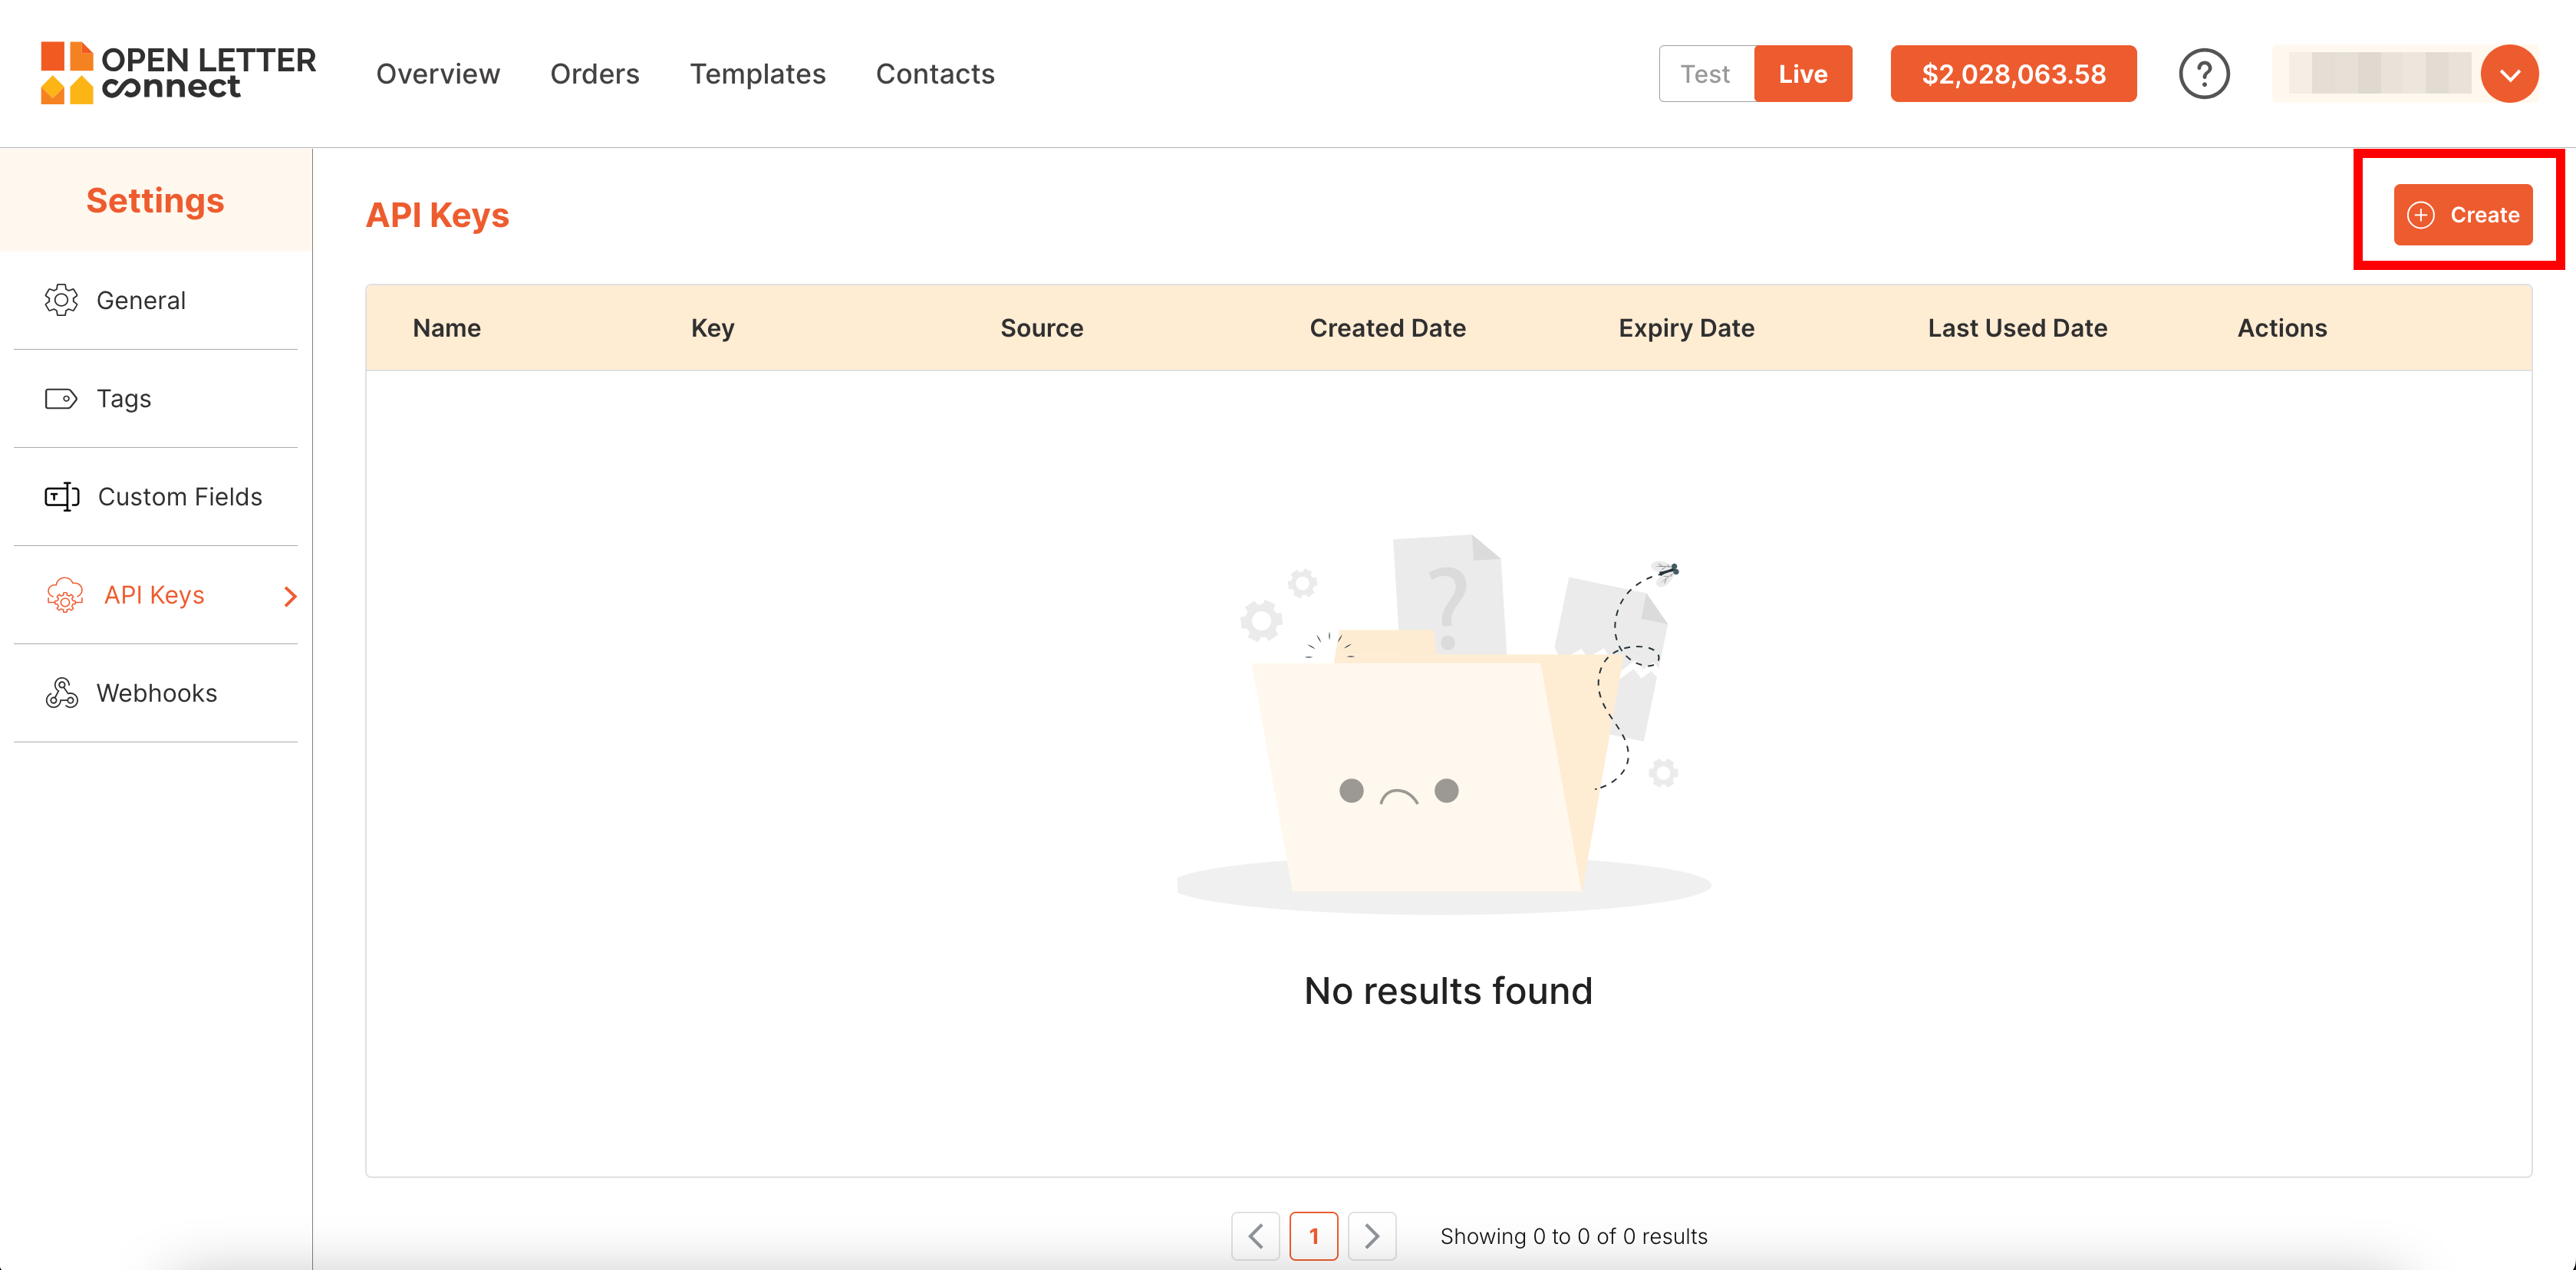
Step 4.1: Start the Creation Process
- On the API Keys Management page, click on the Create button located on the right side.
- The system open the popup to enter the details.
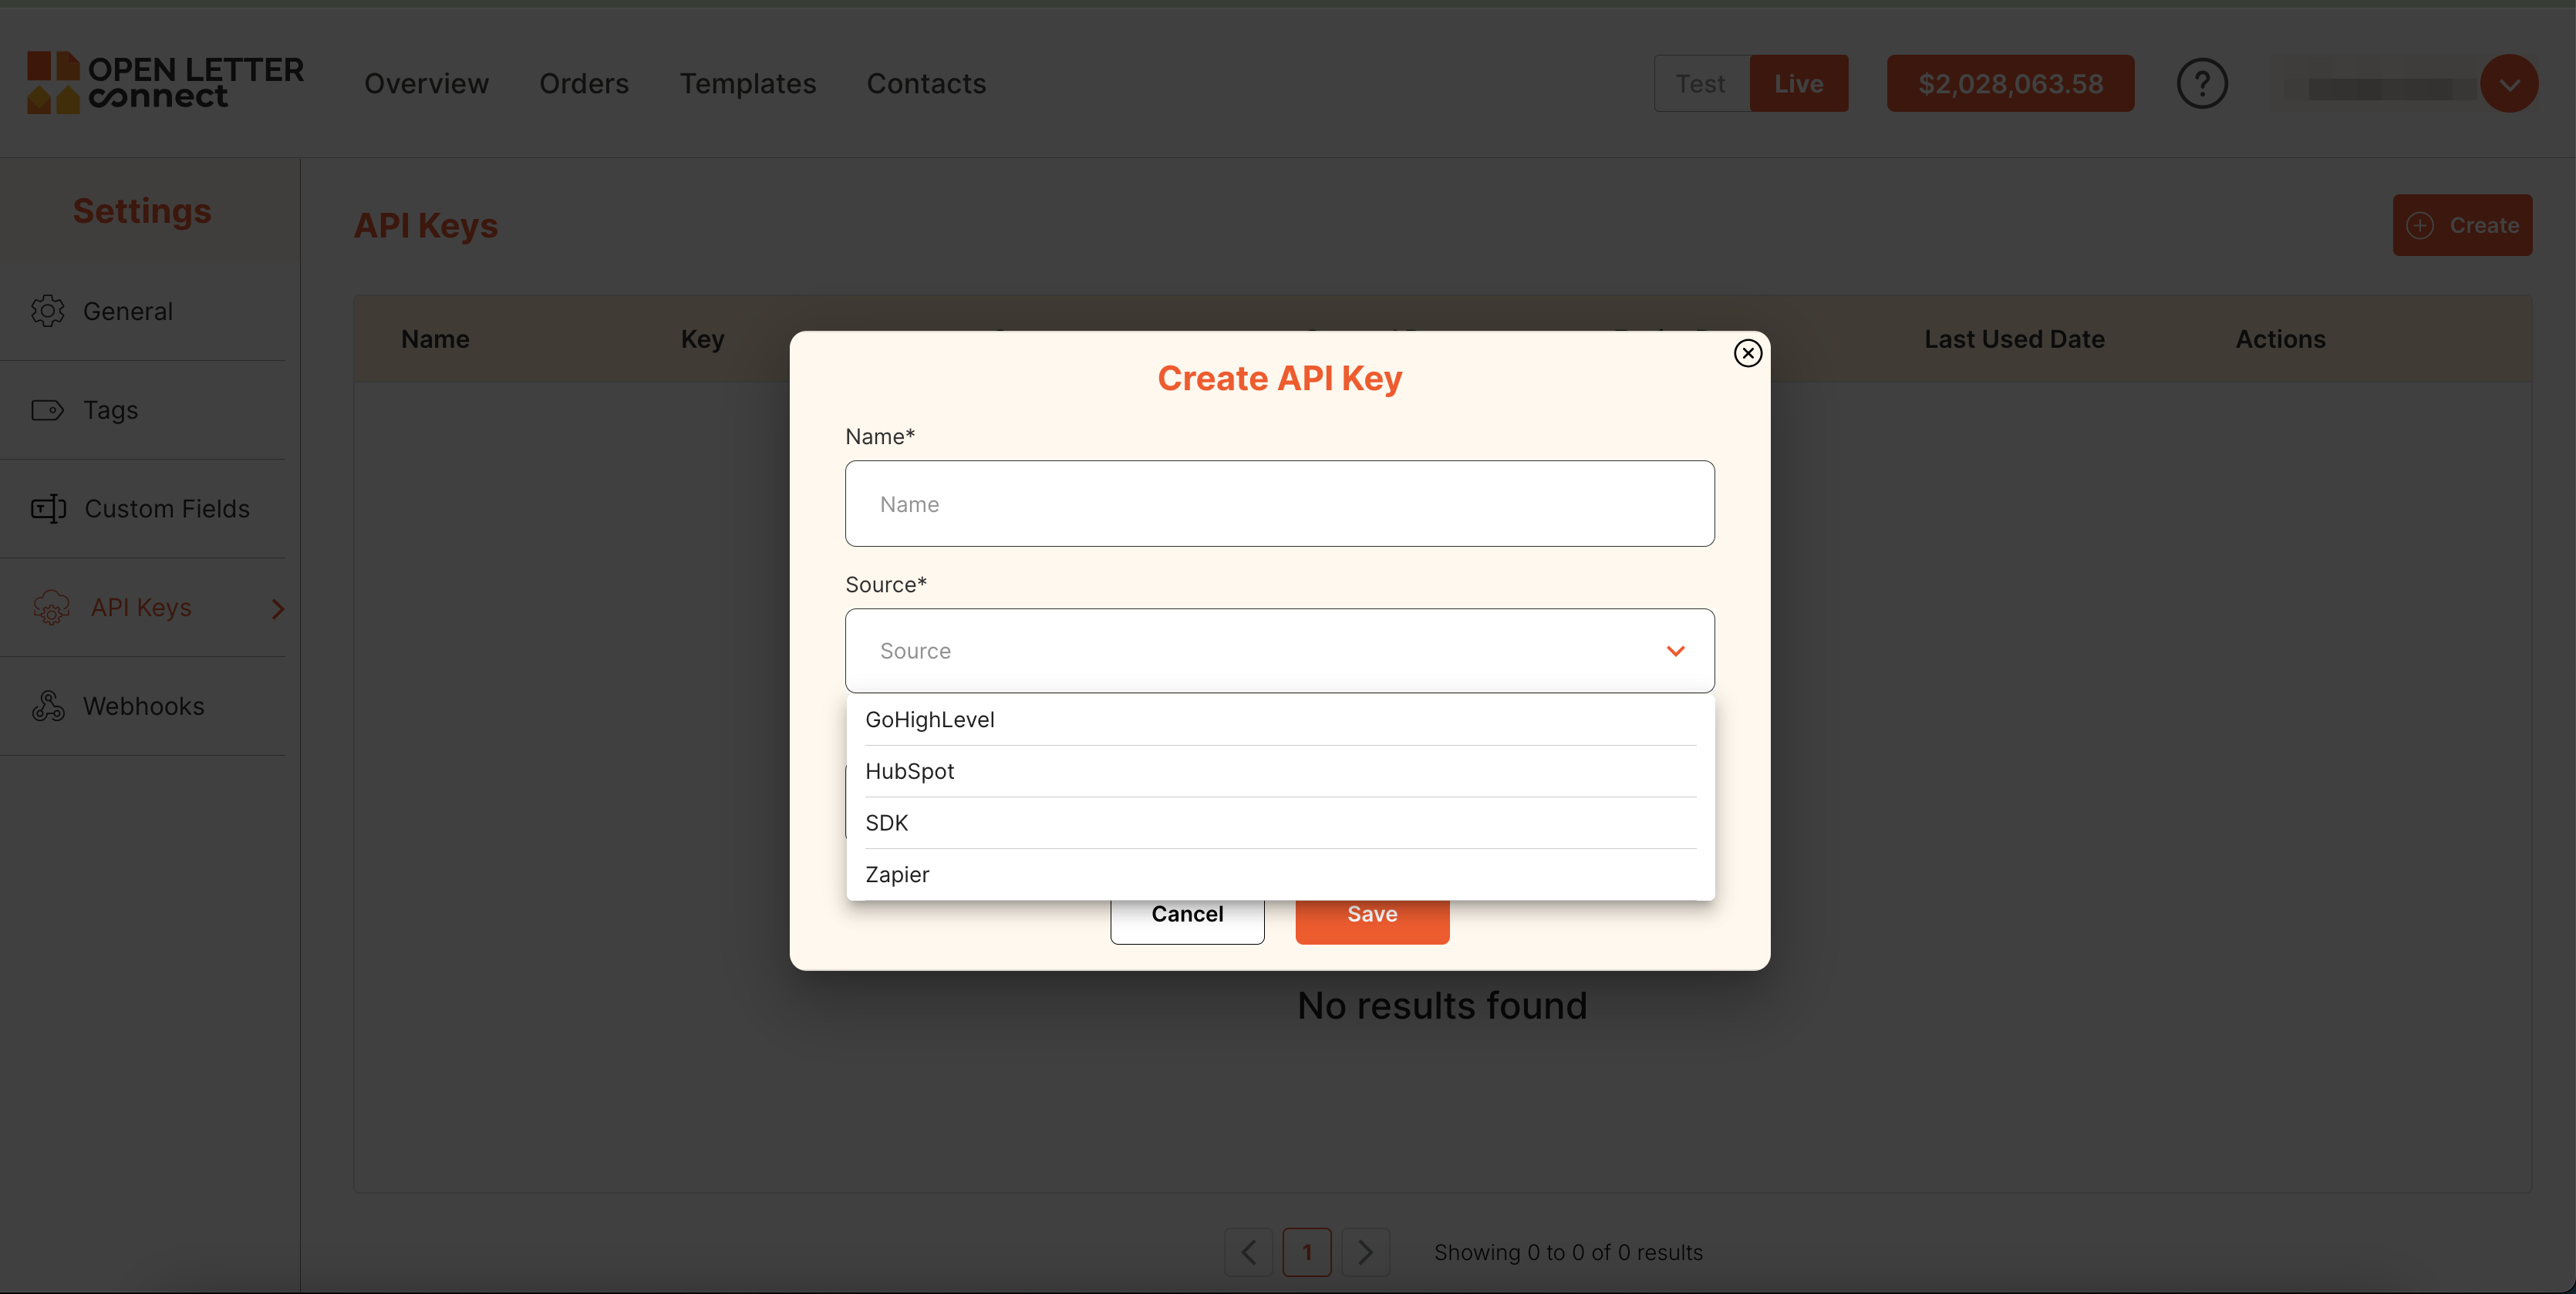
Step 4.2: Provide API Key Details
- On the Create API Key Popup, fill in the required fields:
- Name: A name for the API key to identify its purpose.
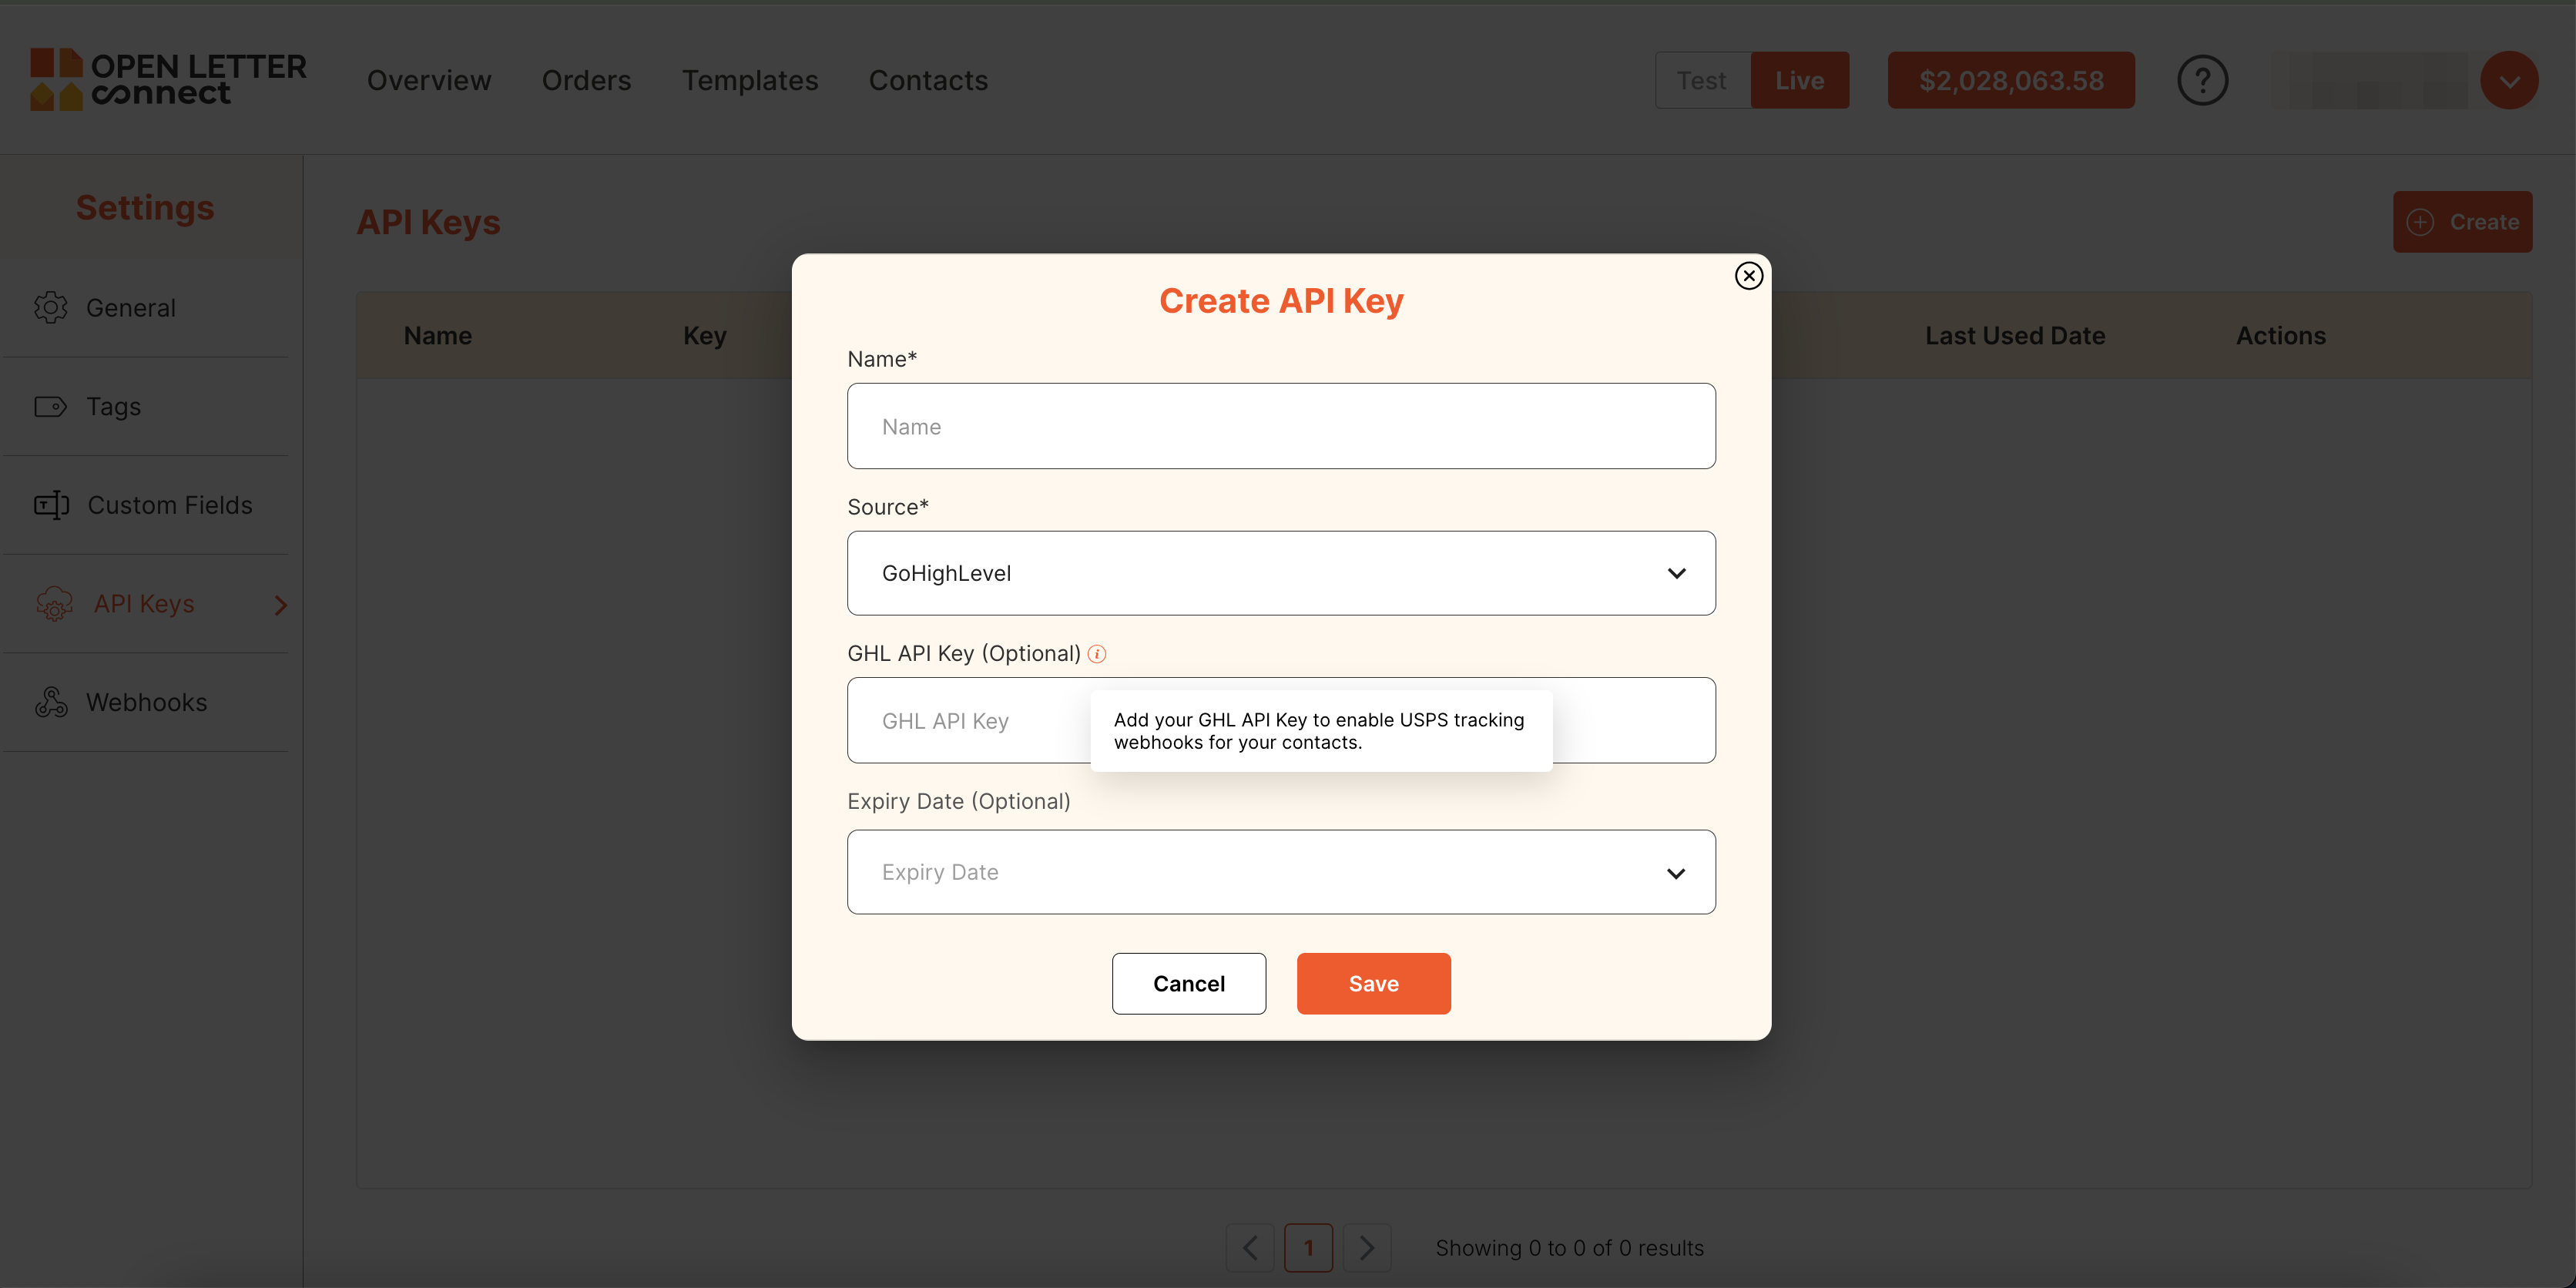
- Source: Select the Source from dropdown menu
- GHL API Key (Optional): This key which is provided by GoHighLevel (GHL), is required when GHL is selected as the source. It enables secure communication between our system and GHL, ensuring proper integration and data flow.
- Expiry Date (Optional): Set an expiry date for the API key if needed. If left blank, the API key will remain valid indefinitely.
Step 4.3: Save the API Key
- After entering all the details, click on the Save button.
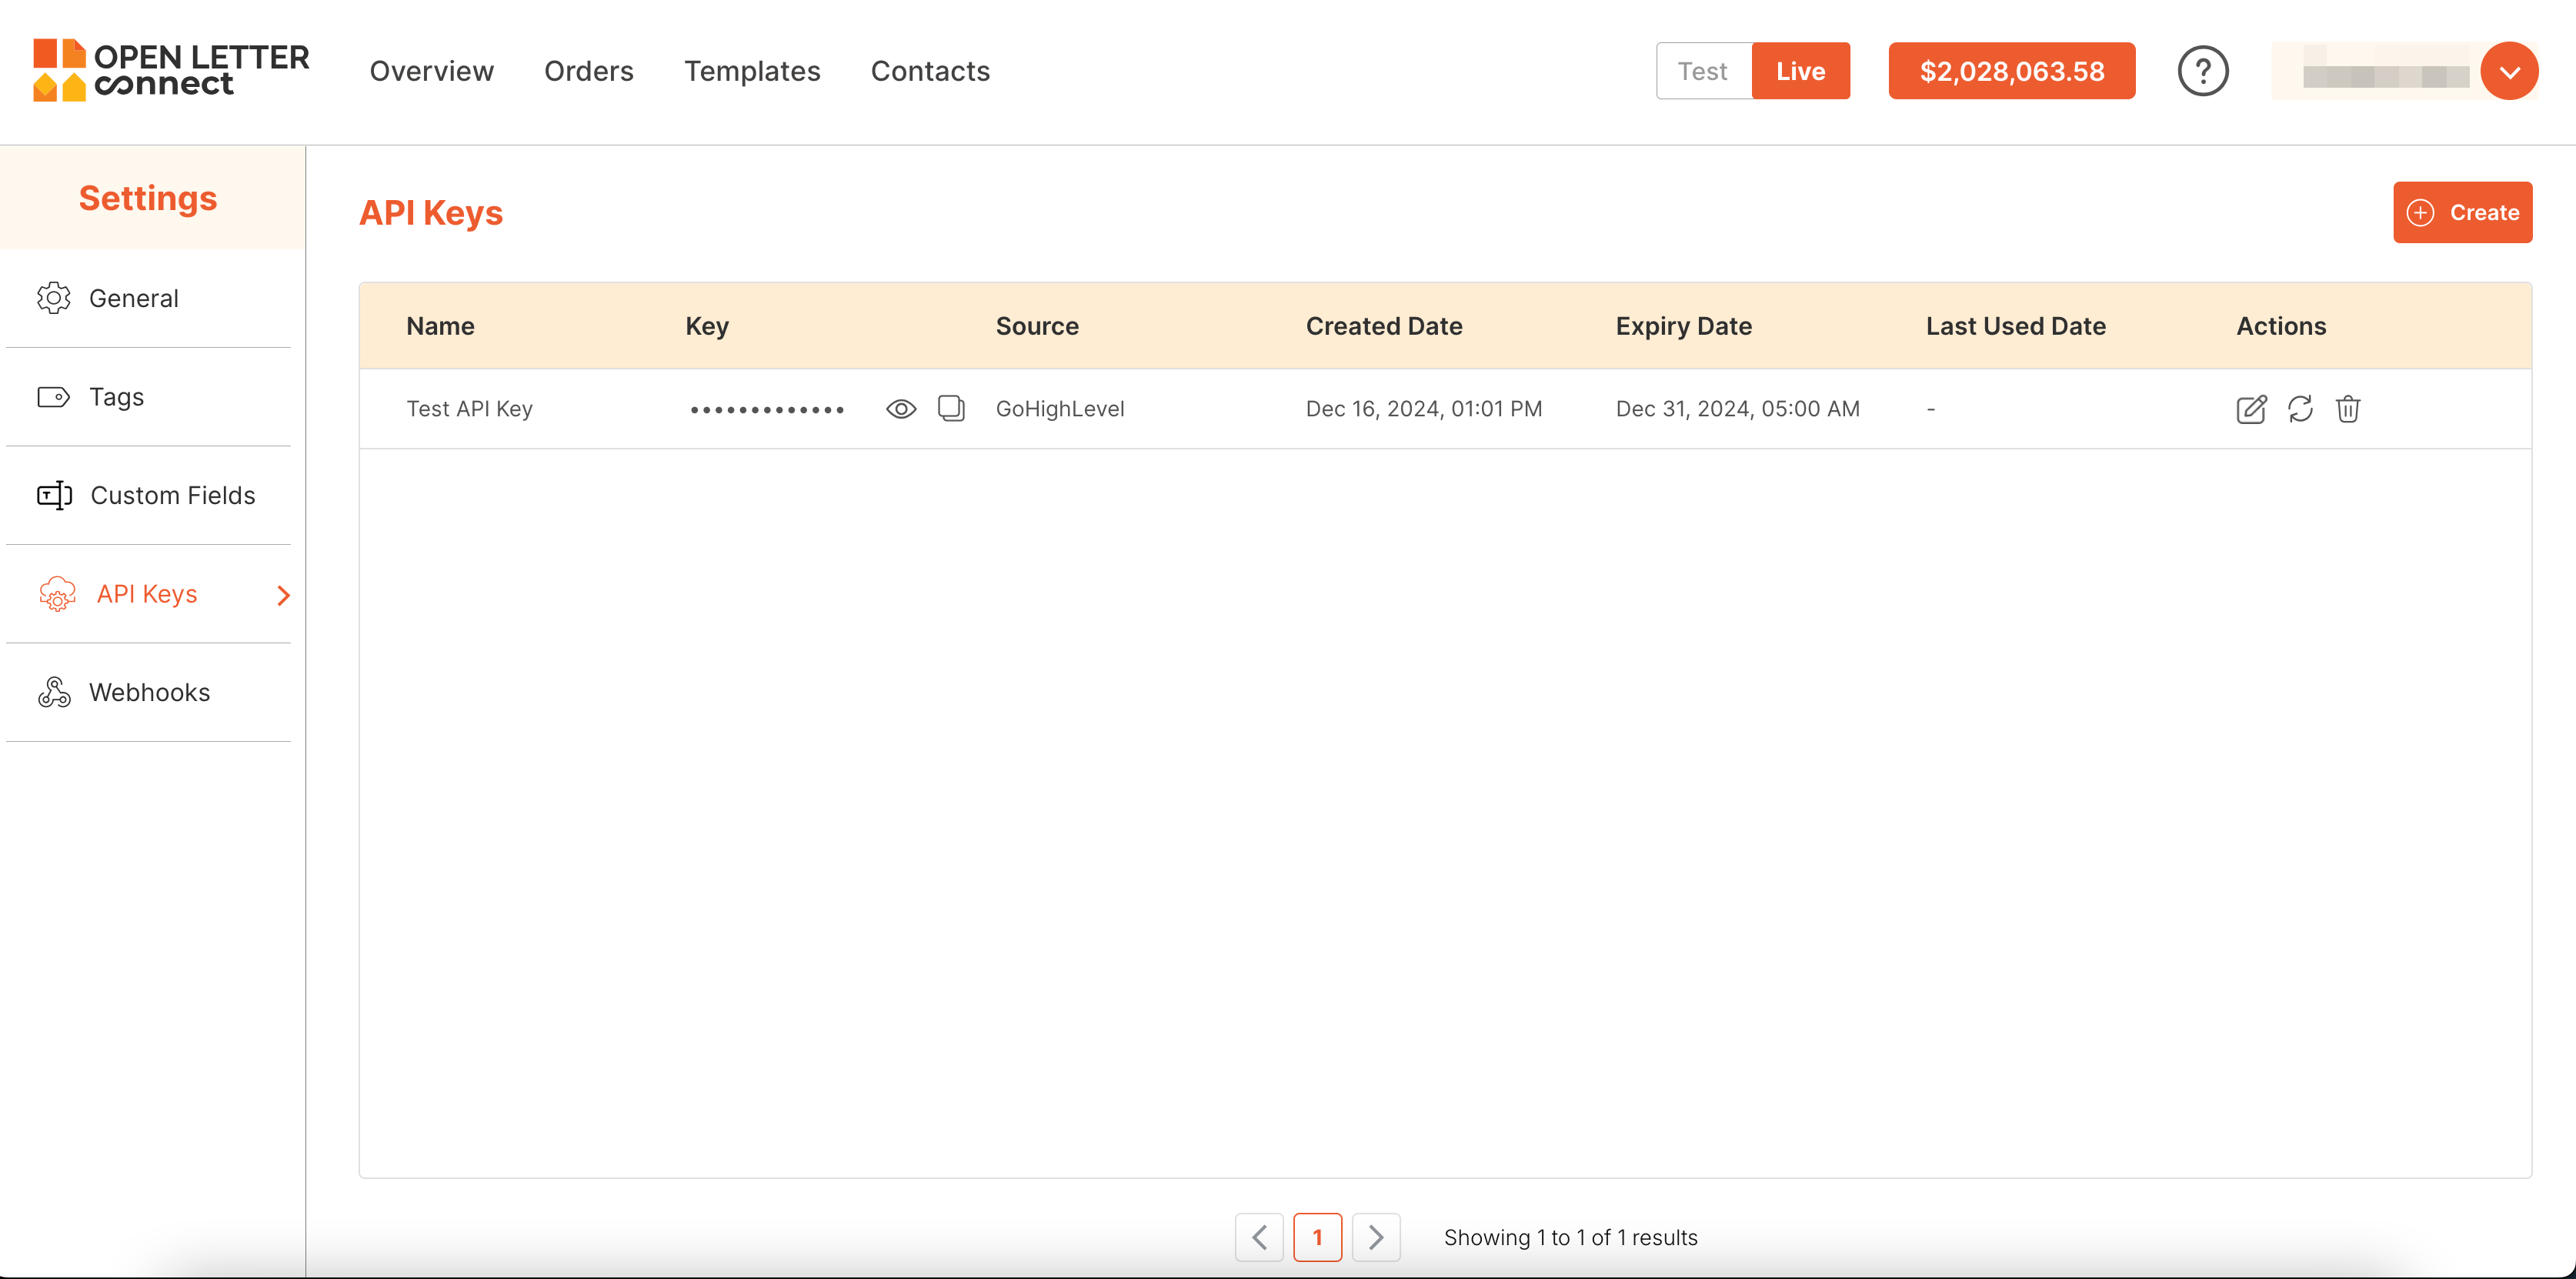
- The system creates the API Key and redirects you back to the API Keys Management page.
- You can now view the list of created API Keys and manage them as needed.
Authentication Process
For secure communication with the API, authentication is required. You can authenticate via OAuth by generating an access token from your application settings. This token should be sent in the Authorization header for API calls.
Error Handling
In case of errors, the API will return standard HTTP response codes. Common issues include:
- 401 Unauthorized: Invalid or missing authentication credentials.
- 403 Forbidden: Insufficient permissions to access the resource.
- 500 Internal Server Error: Server-side issues; try again later.
- 422 Unnprocessed Entity: Invalid or missing inputs or fields.
Refer to the API Documentation for specific error messages.
For any issues or questions, feel free to contact our support team at [email protected].